Center for Precision Metrology
Formed in 1990, the precision engineering and metrology program was one of the first organized research centers at UNC Charlotte. Providing advanced research in multiple disciplines of precision manufacturing and measurement, the program built a reputation as a world leader during its first 25 years.
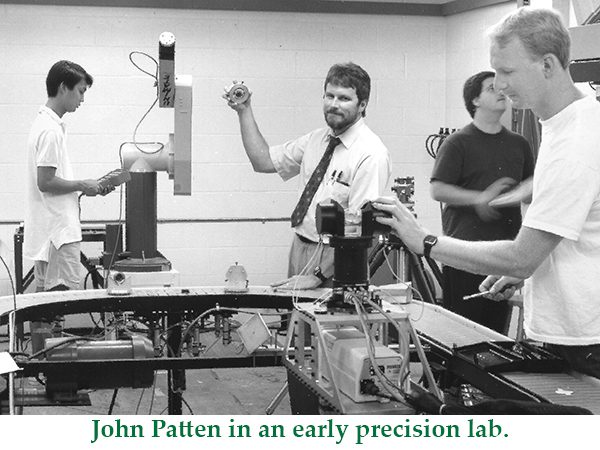
The group’s practice of precision engineering involved research and diagnosis of mechanical parts manufactured to tolerances measured in billionths of a meter. Important research elements included perfecting manufacturing methods and techniques for such parts. Another key component of precision engineering was “metrology,” the science of measurement that allowed researchers to ensure precision parts met prescribed tolerances.
The Lee College of Engineering’s precision engineering program started in a small laboratory in the basement of the Smith Building. One of the first faculty members doing research in the field was John Patten. His worked had become increasingly important, because of the possibility of Kodak moving to the University Research Park and its need for a strong precision engineer support program. Patten led a committee to hire more experts in the field, and one of candidates the committee set its sights on was Bob Hocken. Experts in the field told the team they’d never be able to get Hocken to come to a small program like UNC Charlotte’s, but they did.
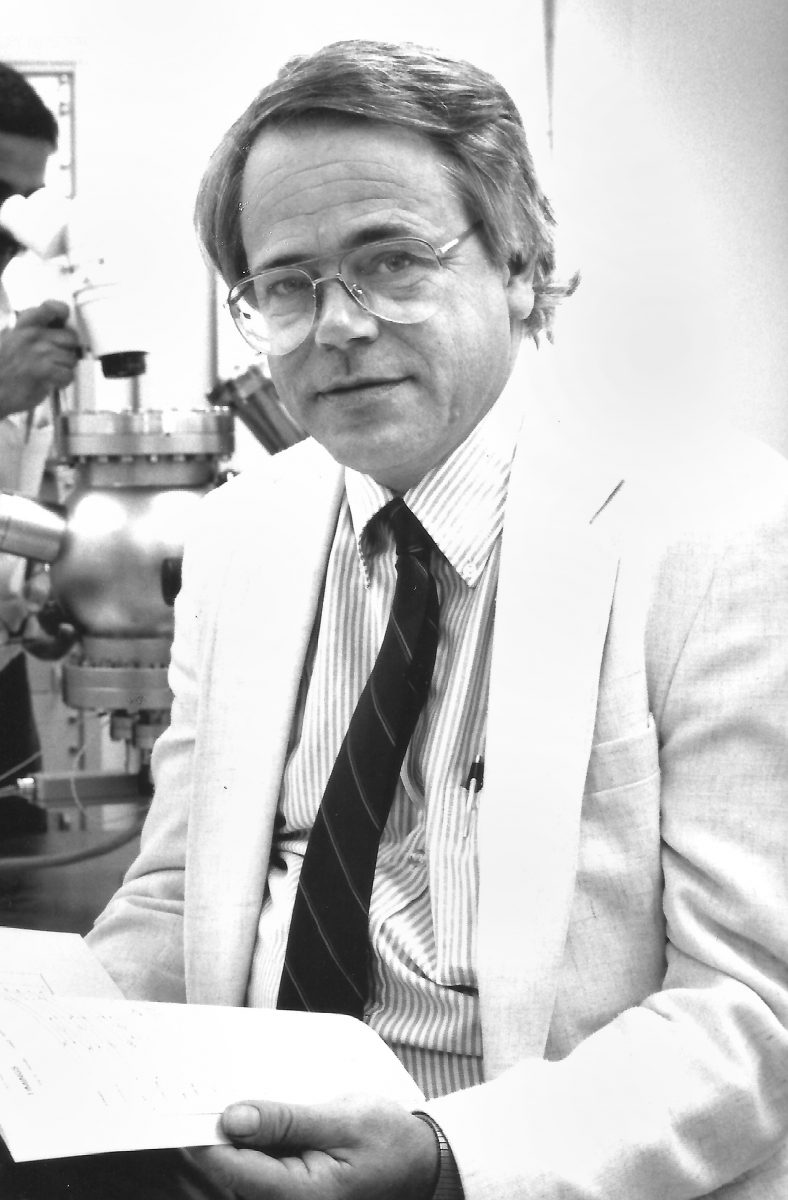
Hocken’s list of academic credentials included a masters and Ph.D. in physics from the State University of New York at Stony Brook, and a post-doctoral fellowship at NBS-NRC. Before he came to UNC Charlotte in 1988, he was the chief of the Precision Engineering Division at the National Institute of Standards and Technology (NIST) and one of the most respected experts in the world in precision engineering and metrology. He came to UNC Charlotte as the Norvin Kennedy Dickerson Jr. Distinguished Professor of Precision Engineering.
“There was not much university support for research then,” Hocken said. “The Office of Research had one lady working there named Lucy and an assistant. There was no Ph.D. program and only one master’s student in all of mechanical engineering.”
The university was committed to growing research, though, and one of the strongest examples of this at the time was the construction of the C.C. Cameron Applied Research Center. The new 75,000-square-foot building was dedicated to interdisciplinary engineering and science research.

“The building of the Cameron Center was definitely part of the reason I came,” Hocken said. “I had been promised $1 million in startup for equipment and such, and a home in the Cameron Center.”
When foundation workers hit solid rock during Cameron’s construction, cost overruns quickly mounted and about $500,000 of the money promised to Hocken got taken to finish the building. “We did have enough to buy some measuring machines and other stuff,” Hocken said, “and were able to get the lab started.”
Hocken was involved in the design of the Cameron Center, including the foundation needed for precision engineering work and the layout of a state-of-the art metrology lab. Another of his contributions was what he referred to as his “memorial door.”
“The previous plan called for all large heavy equipment to be lifted into the building with a crane through an opening in the roof,” Hocken said. “The plans had to be altered to include access via a roll-up door into the bay area on the first floor which had no large scale access.”
The metrology lab in Cameron was a clean-room facility designed with special air handling and filtering systems to remove millions of microscopic particles from the air. The lab required stringent temperature control, and systems were installed to maintain the temperature at plus or minus .05 degrees Celsius. A number of vibration isolation slabs were also designed into the floors for movement-sensitive equipment. The slabs were physically cut apart from the adjoining floor and foundation, so that vibration in one area wouldn’t effect equipment in another area.
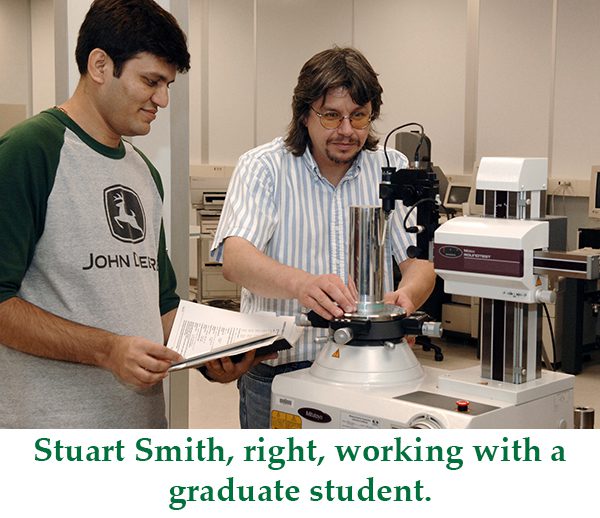
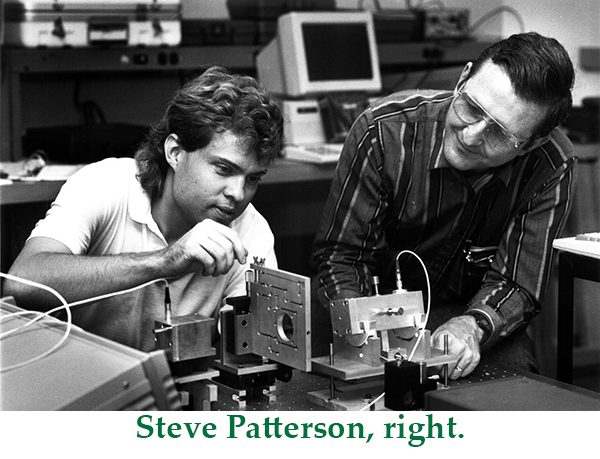
At the same time facilities were being built, the precision program was also recruiting new faculty researchers. Some of the first mechanical engineering recruits included Jay Raja, Bob Wilhelm and Steve Patterson. Two visiting professors who later joined the team were Stuart Smith and Scott Smith. Others who followed included Harish Cherukuri, Jim Cuttino, Ed Morse, Matt Davies, Brigid Mullany, John Ziegert, Chris Evans and Tony Schmitz. Faculty from other departments have also been very active with the Center such as Terrill Mayes, Angela Davies, Pat Moyer etc from Physics and Optical Sciences. The precision group was always committed to having the best laboratory technicians possible to work with the students and faculty and keep all of the lab equipment running. Key people in these roles included Jimmie Miller, Roland Hege, John Brien and Greg Caskey.
Winning research projects and grants was one of the first tasks for the new faculty and staff. This task was actually made more difficulty, because of the lack of students. But before students could be attracted with research scholarships, the group had to bring in money from grants and contracts.
“It was difficult to get funding with no Ph.D. program,” Hocken said. “One of the people here who was the biggest help was Bill Shelnutt. He quickly became part of the precision program and helped write all of the early proposals that got us funded. In 1991, we brought in almost $2 million in funding for research and equipment. The money came from various projects and grants. So, the group went from zero dollars of its own to $2 million in one year.” Early contract support came from the Consortium for Advanced Management – International, the National Center for Manufacturing Sciences, Caterpillar, the North Carolina Supercomputing Center, and the National science Foundation.
One of the great successes of the group was its Affiliates Program of industrial partners who wanted to do research with the team. Their commitment as affiliates required a donation of $30,000 a year in money or equipment. The money and equipment were all used for student stipends and research projects. In return for their donations, affiliates helped decide what projects would be done, which included projects of interest and necessity to their companies. Past and present affiliate companies include 3M, Boeing, B&W Y-12, Brown and Sharpe, Carl Zeiss, Caterpillar, Corning Cable Systems, Cummins, GE Energy, General Dynamics, Geomagic, Hutchinson Technology, Intel, Lawrence Livermore National Lab, Mahr-Federal, National Institute of Standards and Technology, MItutoyo America (MicroEncoder), Moore Tool, Okuma, Renishaw, Timken, Tropel, UT Pratt & Whitney, Veeco (Bruker), Western Robotics and Zygo.
“Right from the start we had good support from industry,” Hocken said.
The success of the precision program led to designation status as a state and national center. For its work in metrology, the State of North Carolina designated the group as the State Center for Precision Metrology in 1997. The designation meant the group would be considered a regional resource for precision metrology expertise. With this designation, the group officially became the Center for Precision Metrology.
In 1998, the National Science Foundation named the group an Industry/University Cooperative Research Center Program. The designation brought with it $80,000 in annual NSF funding.
Some of the research projects in the 1990s and 2000s included:
- Dimensional inspection techniques for cylindrical geometries
- Automatic inspection systems for edge and surface finishing
- Nanotechnology for advanced mass storage
- Sampling techniques for coordinate measuring machines
- Near field scanning microscope
- Nanometric cutting instrumentation
- Flexible manufacturing systems
- Implanted CBN tools
- Economics of temperature and humidity control
- Long range scanning stage (research seed for the development of the sub-atomic measuring machine)
- Development of dimensional metrology instrumentation
- Development of advanced CAD software
- Geometric calibration of machines
- Improved accuracy of measuring machines
- Development of portable measuring devices
- Form tolerances for complex freeform surfaces
- Perfornance verification of machining centers
- National standards development
- Tool tuning
- High-speed machining
- Development of ISO TC 213 standards
Many of the research projects were part of the overall field of nanotechnology, in which the group was establishing itself as a frontrunner. “Our first nano research was way ahead of its time,” Hocken said. “By 2012 they were giving Nobel prizes to researchers in graphene (a single layer of carbon), but in 1989 and 1990 we couldn’t get our work about it published. My thought is that part of the problem was we were an engineering program and not physics. And our work was so far ahead of its time no one believed it. We were making memory with few nanometers on chips in 1992.”
Center for Precision Metrology research projects in the late 1990s included the invention of vector sensors that doubled the speed of coordinate measuring machines. Other work included the development of surface texture instruments for measuring crankshaft roughness, a project to improve the surface texture of high-precision optics, and characterization of giant magneto-resistive sensors. By 1998, the funding of the group had grown to $8.5 million.
Duke Centennial Hall
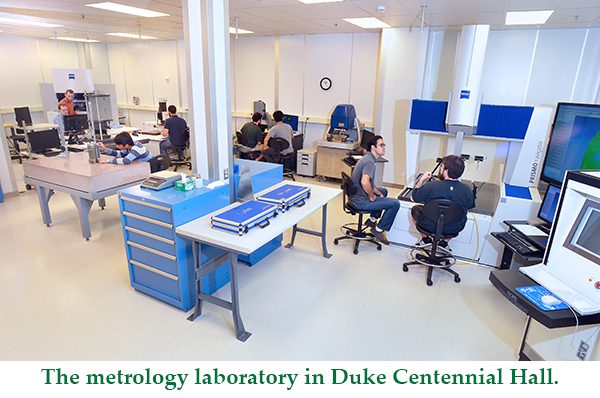
In 2005, the Center for Precision Metrology moved to the newly constructed Duke Centennial Hall. They brought with them 300 tons of equipment.
“Duke Centennial Hall provided not only state-of-the-art laboratories for our work,” Hocken said, “but also gave us the capabilities to make our own parts and build all the things we wanted. This was important to our research, and to the expansion of our hands-on engineering programs.”
The new engineering manufacturing and metrology facility was built with a suite of laboratories designated for computer integrated manufacturing, machine dynamics, sensor systems, nanoscale science and engineering, mechatronics, instrumentation, precision surfaces and computer-aided design.
When the group established itself in Duke Hall, economic changes began to dictate a change in the nature of research. Projects specific to the group were smaller, while interdisciplinary projects with other institutions were larger.
“We had to go where the money was,” Hocken said. “What the Affiliates wanted was more short-term practical things. What the NSF wanted were collaborative multi-institutional projects.”
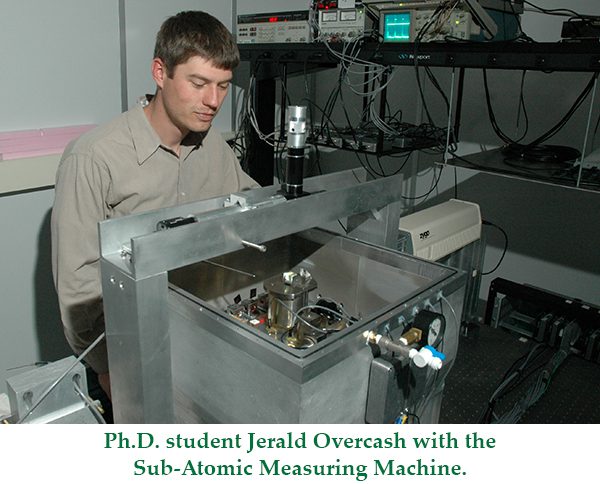
The new research thrust led to the group developing a Sub-Atomic Measuring Machine (SAMM) with MIT. The capabilities of SAMM include controlling precision movement and measurement to an accuracy of 10 picometer (10 to the minus 12th of a meter).
Additionally, the center partnered with lead university UCLA as an member of the NSF Nanoscale Science and Engineering Center for Scalable and Integrated Nanomanufacturing project along with the UC Berkeley; Stanford University; University of California, San Diego; and HP labs. The UNC Charlotte group developed the spindle mount and laser interferometer measurement system for a new plasmonic lithography technology being developed by the group.
Other projects included a MAPS, Multiscale Alignment and Positioning System, and NIRT, a Nanoscale Infrastructure Research and Technology project designed to provide fine motor controls.
By 2010, the Center for Precision Metrology’s research areas and some of their projects had grown to include:
Metrology Practices and Algorithms
- 3-D Tolerance Control
- 5 Axis CMM Uncertainty
- Adaptive Sampling Techniques
- Characterization of Structured Surfaces
- CMM Contact Scanning of Edges and Corners
Machine and Instrumentation Development
- Enabling Technology for Extreme UV Optics
- Measuring Machine
- Fast Tool Servo for Diamond Turning
Non-Axisymmetric Components
- Giant Magnetoresistive Sensor Design
- Grazing Incidence Metrology
Manufacturing and Machining
- Ceramic Machining
- Deformation Machining
- Diamond Films for Manufacturing
- Fiducial Manufacturing Uncertainty Analysis
Standards Development
- Faculty serving as members and experts on national and international standards committees.
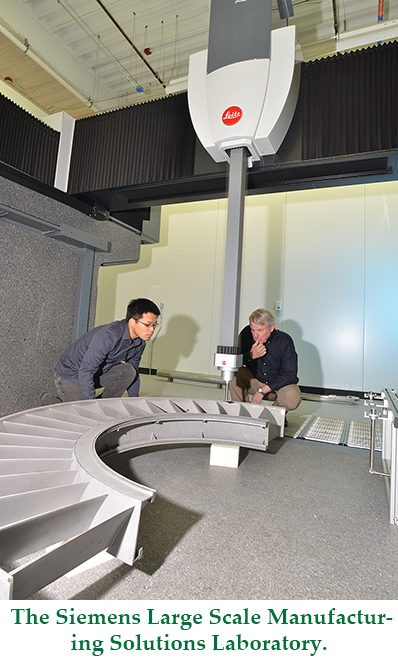
In 2014, Hocken retired from UNC Charlotte and as director of the Center for Precision Metrology. The college named Chris Evans as his successor. One of the world’s most prominent researchers in the field of precision measurement, Evans joined the Lee College of Engineering in 2011. His individual research focus was in advanced metrology and precision diamond-turned optics surface techniques.
In 2015, the center established the new Siemens Large Scale Manufacturing Solutions Laboratory in the EPIC building. A key component of the lab was a Leitz PMM-F 30-20-16 coordinate measuring machine donated to UNC Charlotte by Hexagon Metrology. The new CMM system allowed precision measurements of large components such as generator blades and gears for wind turbines.